There isn’t much point in using machines to produce accurate results if they aren’t set up correctly. Here are some pointers to getting precise results.
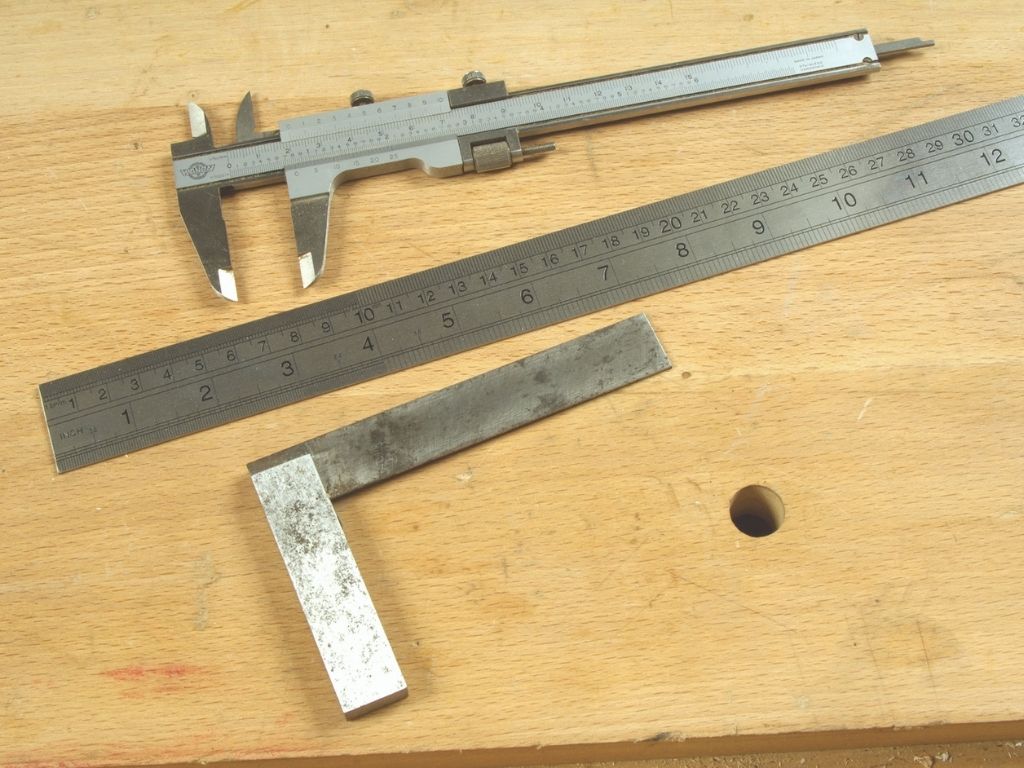
Accuracy with wood relies on metal as a rule. Measuring tools are mostly made of metal because it is compact and reliable. So the first step is to make sure you have the means to check accuracy by having good quality measuring tools. A 300mm steel rule and a steel engineer’s square will sort out most problems. Nowadays there are digital angle gauges which are useful for achieving exact settings.
Tools you need
Now, you need the necessary tools to make adjustments. Machines are usually supplied with rather cheap Allen keys for example. A complete set of T-handled Allen keys often cased with a set of T-handled Torx keys can sometimes be had quite cheaply at a certain discount supermarket chain. Metric spanners are also necessary but the ones supplied may be poor quality; if necessary it may be better to buy a new complete set, again at a sensible price. A pair of adjustable grips are needed for locking the knurled guide setting knobs on a bandsaw. A bright focused LED torch, possibly one with a magnetic mount, is needed for close inspection work.
Planer/thicknesser
If you have a planer/thicknesser setting the blades accurately is a pain just using a marked wooden batten to show blade ‘pull over’ distance and problems with blades ‘floating’ as you tighten them up. Instead you can buy a planer blade setting jig, it costs around £30–60 for basically the same model, so you just need to shop around price-wise. It will save you so much stress and aggravation, as well as giving consistently accurate setups each time. It comes loaded with rare earth magnets so your machine needs to have cast iron tables, not aluminium ones. The engineer’s square is essential for fence adjustment, although extruded aluminium fences are seldom flat all over so you have to find a compromise position.
Pillar drill
Some inaccuracies can’t be overcome or only with expense, an example would be a pillar drill with ‘runout’. If the drill bit won’t centrate in the chuck you may be able to buy a better chuck, but of course the shaft it is fitted to, may itself not run true, so the process of improving accuracy starts by identifying the problem before you can correct it. It’s important the drill chuck grips evenly and squarely, of course. Make sure the machining table is perpendicular to drill chuck by placing a long drill bit in the chuck and then lining the square up against it.
Lathe
Mounting the machine solidly will help; a lathe that isn’t secure can vibrate quite badly, especially running at higher speeds or carrying an uneven or offset blank for example. You can also have more confidence in what you are doing and apply more feed pressure if necessary, if you know the machine in question is firmly secured. Better quality machines should run truer and last longer between bearing changes. A key point with any lathe is checking the tailstock point and the headstock drive point are in line, which is simply checked by touching both together. If they are out of alignment you need to check if adjustment is possible by undoing fixed bolts, etc.
Tablesaw
Saw tables should run true, but on cheaper models this may not be so, and there can be a slight degree of arbor waggle which can’t be got rid of. However, the first question is blade quality; the original blade may not only be blunt or have damaged teeth, it may not be very well balanced. Rather like motor car wheels, better quality blades are checked to make sure they are running true. So try a blade change first before assuming the arbor is to blame. The fence may not be properly aligned. On a tablesaw it needs to be parallel with the blade or even ‘toe out’ a fraction. If it has a ‘toe in’, wood will become trapped, so you need to try cutting a block and see when it is placed both back and front between the static blade and fence, whether there is any difference; in which case adjust accordingly.
Crosscutting frequently causes more problems than rip cuts. A mitre protractor on a tablesaw runs in a slot. Often they are not correctly zeroed, so you need to do test cut and alter the fine adjustment screw by degrees until the problem is dealt with. To check squareness you either need a very large and probably expensive engineer’s square, or do what I do and use a flat sheet of A4 paper to mark squarely (as paper is guillotined precisely). Cut and check and if necessary adjust the fence so the cut gets closer and closer to the desired line.
Compound mitre saw
Compound mitre saws can experience the same problem and it isn’t always the cheaper models that have difficulty cutting square. Normally it is the fence that needs adjusting and you need to check the verticality of the cut too. Refer to the manufacturer’s instruction manual for the correct method of adjustment. You may find that due to a short fence length or unevenness in the machining of its face, you may get a marginally squarer result on one side of the blade than the other depending which fence half the wood is pressed against.
